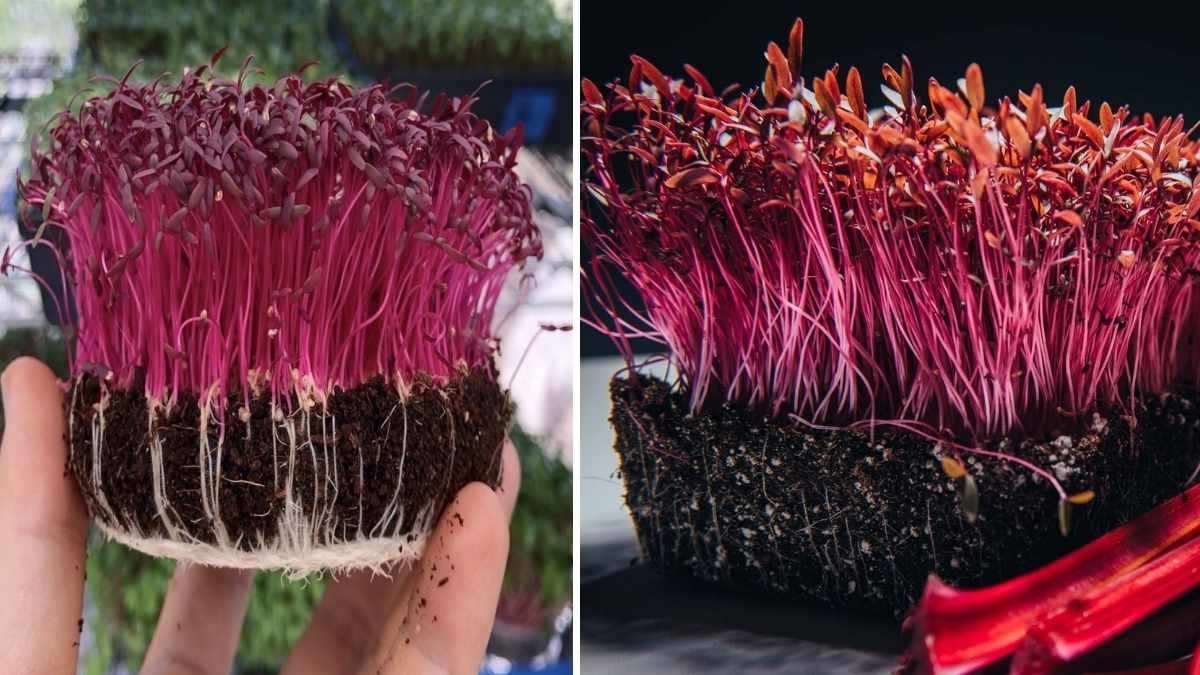
Growing microgreens at home has become one of the most rewarding and healthy trends for those who love fresh, organic, and nutrient-rich food. Among all varieties, amaranth microgreens stand out for their beautiful red hue, earthy flavor, and exceptional nutritional value. These tiny greens are packed with vitamins A, C, and K, along with essential minerals like calcium, iron, and potassium. The best part is that you can easily grow them at home, even if you don’t have much space. Let’s explore how you can grow amaranth microgreens in just seven simple steps.
Step 1: Gather All Your Supplies
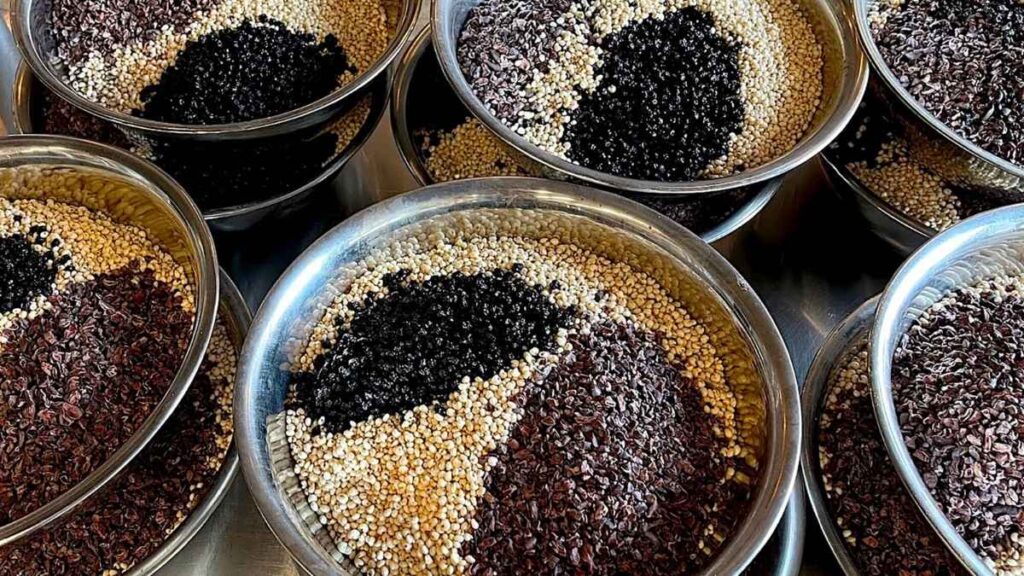
Before you start, make sure you have everything ready. You don’t need much to grow microgreens, and most of the items are easy to find. You’ll need amaranth seeds, a growing tray or shallow container, good-quality potting soil or cocopeat, a spray bottle, and clean water. Amaranth seeds are tiny, so it’s best to buy them from a trusted organic supplier. If you prefer, you can also grow them hydroponically, but soil gives a slightly richer taste and more vibrant color.
Step 2: Prepare the Growing Medium
The growing medium plays a big role in the success of your microgreens. Take your tray and fill it with a thin layer of potting mix or cocopeat. Make sure the surface is level and slightly moist but not soggy. Too much water at this stage can cause mold growth later. If you are using cocopeat, soak it in water for a few minutes before spreading it evenly in the tray. The goal is to create a soft and airy bed where seeds can rest and germinate easily.

Step 3: Sow the Amaranth Seeds Evenly
Once your tray is ready, it’s time to sow the seeds. Amaranth seeds are very small, so try to spread them evenly across the surface without overcrowding. You can gently tap the tray to help them settle into place. There’s no need to bury the seeds deep into the soil just a light press is enough. After sowing, lightly mist the surface with water using your spray bottle. This ensures the seeds stay moist and begin to germinate evenly.
Step 4: Create the Right Germination Environment
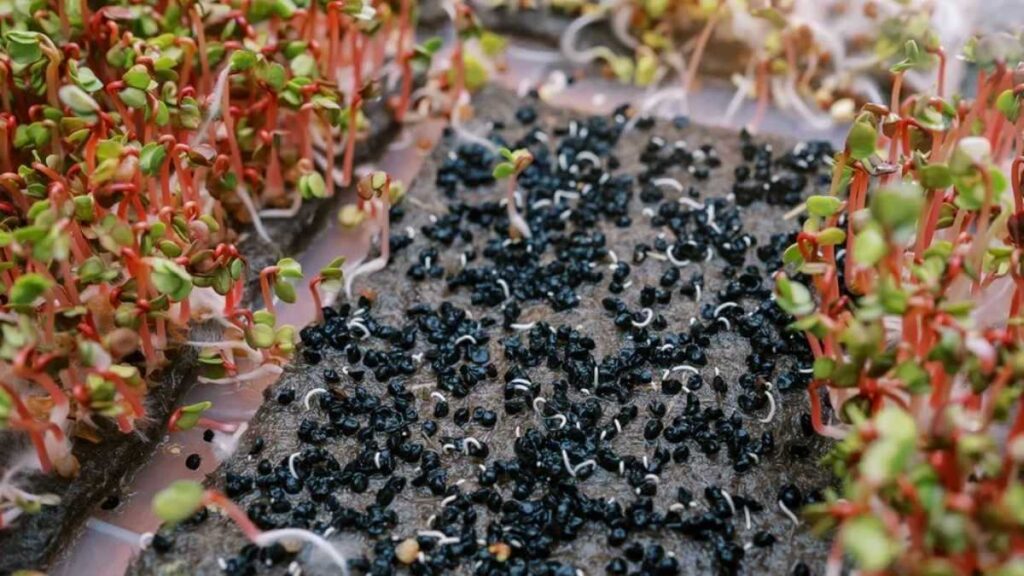
Amaranth seeds need a warm and dark environment to germinate properly. After spraying water, cover the tray with a lid, another tray, or even a piece of cardboard. This keeps the moisture locked in and helps the seeds sprout faster. Place the covered tray in a warm area away from direct sunlight. The ideal temperature for germination is between 22 to 28 degrees Celsius. Within two to three days, you’ll start seeing tiny sprouts emerging from the seeds.
Step 5: Provide Light and Gentle Care
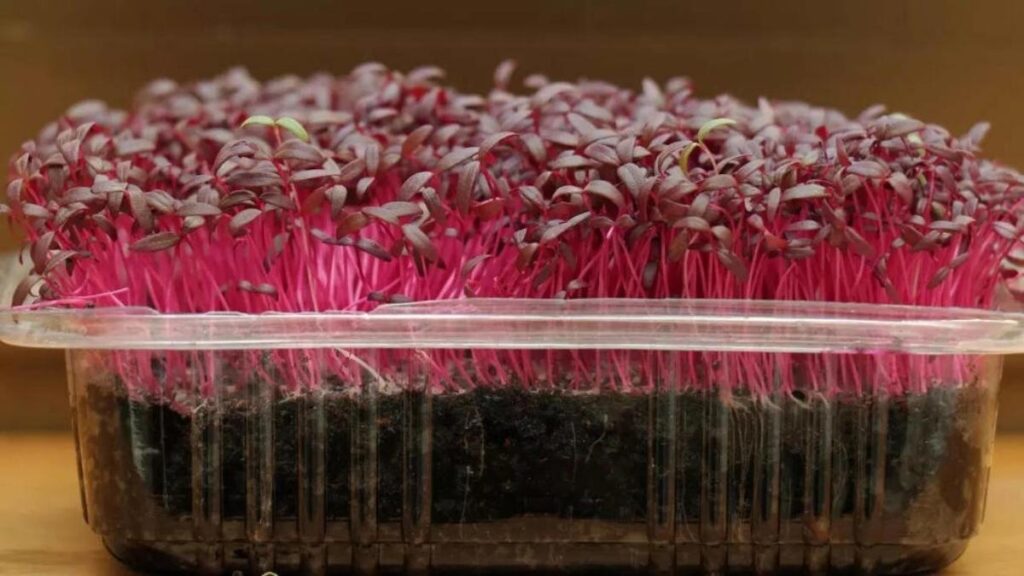
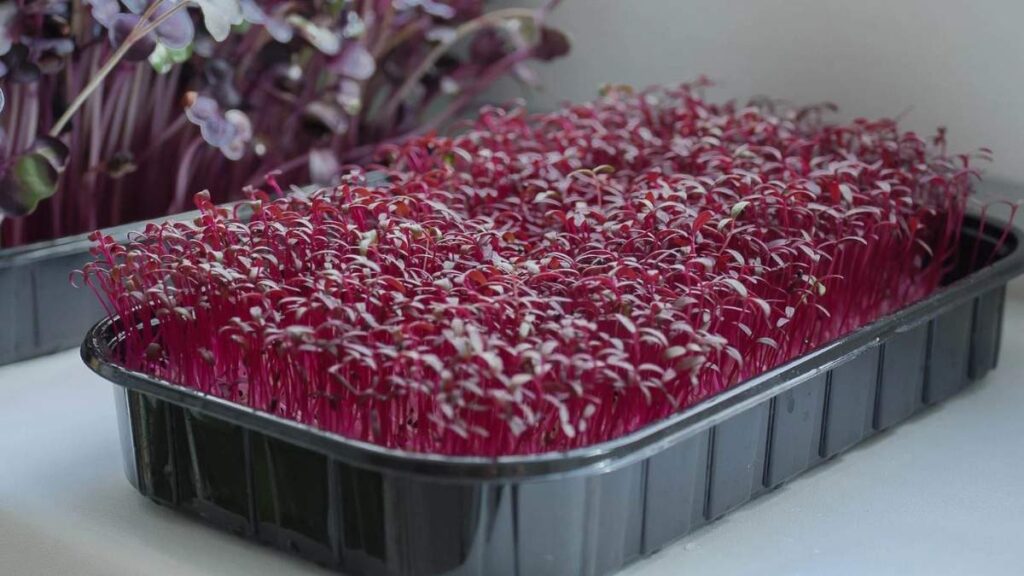
Once most of the seeds have sprouted, remove the cover and expose your tray to indirect sunlight or place it under a grow light. Amaranth microgreens love light, which helps them develop their characteristic reddish-pink color. Water them lightly every day with a spray bottle to keep the soil moist but never wet. Avoid overwatering, as that can lead to fungal growth. At this stage, you’ll notice how quickly the seedlings grow, often reaching harvest size in just one to two weeks.
Step 6: Harvest at the Right Time

Amaranth microgreens are usually ready for harvest when they are about 7 to 10 centimeters tall, which usually takes around 10 to 14 days after sowing. The leaves should be bright red or pink, and the stems will be tender. To harvest, use a clean pair of scissors and cut the microgreens just above the soil line. Avoid pulling them up with the roots, as that can make the greens messy and less appealing. Always harvest in the morning when the leaves are fresh and crisp.
Step 7: Store and Enjoy Your Microgreens
After harvesting, give your amaranth microgreens a gentle rinse with cool water and let them air dry on a paper towel. Store them in an airtight container or a zip-lock bag in the refrigerator. They can stay fresh for up to five days, though it’s best to consume them as soon as possible for maximum nutrition and flavor. You can use these vibrant microgreens in salads, smoothies, sandwiches, soups, or even as a garnish for various dishes. Their slightly earthy and nutty taste adds a gourmet touch to everyday meals.
Benefits of Growing Amaranth Microgreens at Home
Apart from being easy to grow, amaranth microgreens offer a wealth of health benefits. They are an excellent source of plant-based protein, making them ideal for vegetarians and vegans. The presence of antioxidants helps in detoxifying the body and promoting healthy skin. Regular consumption may also support better digestion and help maintain healthy cholesterol levels. Growing them at home ensures that you’re consuming completely fresh and chemical-free greens straight from your kitchen garden.
Final Thoughts
Growing amaranth microgreens at home is not only simple but also incredibly rewarding. You don’t need a large garden or expensive equipment just a small tray, some good-quality seeds, and a little care. Within two weeks, you can have your own supply of fresh, nutrient-packed greens that enhance your meals and boost your health. Once you experience the joy of harvesting your own microgreens, you’ll likely want to experiment with other varieties as well. Start today, and bring a touch of freshness and color to your kitchen with homegrown amaranth microgreens.