Fennel is an aromatic herb that brings both beauty and flavor to your home garden. Known for its delicate feathery leaves and distinct anise-like fragrance, fennel can easily be grown in containers, making it perfect for apartment balconies, patios, or small urban gardens. Whether you’re a beginner gardener or someone looking to expand your herb collection, fennel is a rewarding plant that thrives with minimal effort. In this guide, you’ll learn how to plant and grow fennel in containers from seed, right from preparation to harvest.
Why Grow Fennel in Containers
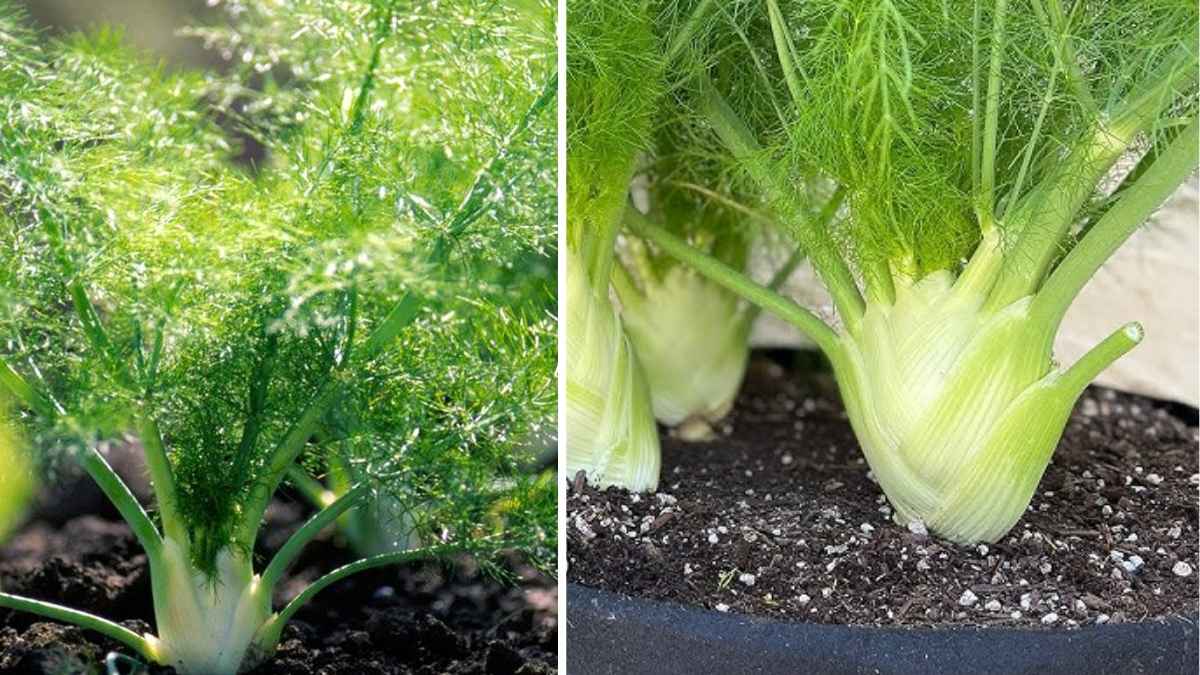
Fennel is an excellent herb to grow in containers for several reasons. It’s a versatile plant that serves as both a vegetable and a flavoring herb. The leaves can be used as a garnish, the seeds for seasoning, and the bulb in a variety of dishes. Growing fennel in pots allows you to control its environment better, ensuring the soil remains well-drained and nutrient-rich. Containers also prevent fennel’s long taproot from spreading too far and make it easier to manage spacing if you have limited room. Additionally, container gardening keeps pests under control and lets you move the plant around to capture more sunlight.
Materials You’ll Need
Before you begin planting, gather a few essential materials to ensure your fennel grows successfully:
- Fennel seeds (choose bulb fennel or Florence fennel for vegetables, or common fennel for herbs)
- Deep pots or containers (at least 12–16 inches deep)
- Well-draining potting mix
- Organic compost or manure
- Watering can or spray bottle
- A sunny location with at least six hours of sunlight daily
Step 1: Choose the Right Container
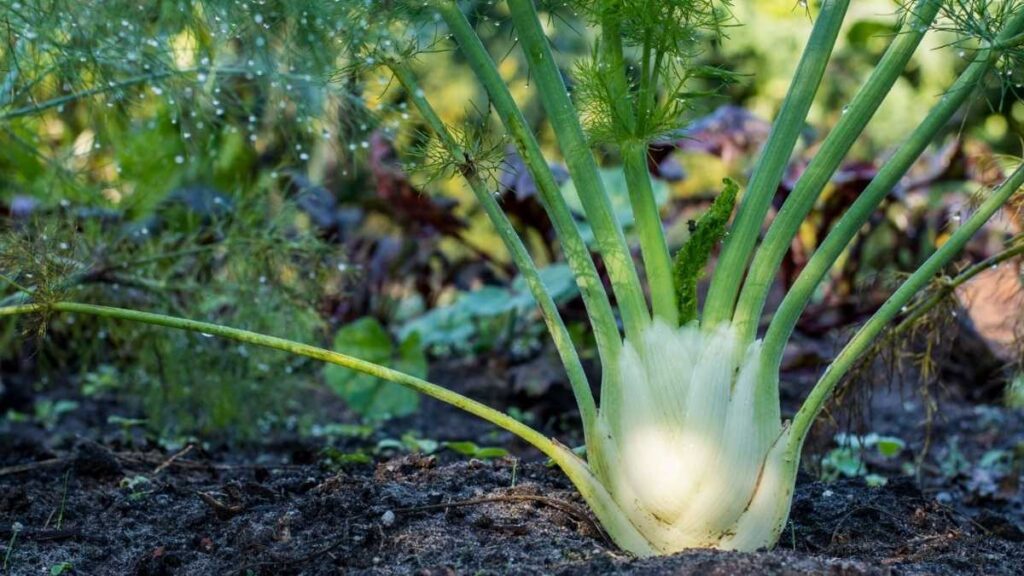
Fennel develops a long taproot, so it needs a deep container to grow properly. Select a pot that is at least 12 inches deep and wide enough to accommodate the root system. Make sure it has drainage holes at the bottom to prevent water from pooling, as fennel does not like soggy soil. If you are growing multiple plants, use separate pots or ensure each plant has about 12 inches of space. Terracotta or ceramic pots are good options as they allow the soil to breathe and drain better.
Step 2: Prepare the Soil Mix
Fennel thrives in loose, fertile, and well-drained soil. A good mix consists of garden soil, compost, and coarse sand or perlite in equal parts. This ensures the roots have enough air and prevents waterlogging. The soil pH should be between 6.0 and 7.0 for best results. Mix in organic compost or aged manure before planting to enrich the soil with nutrients. Fennel prefers nutrient-rich soil at the beginning but doesn’t require frequent fertilization later, as too much nitrogen can cause excessive leafy growth instead of developing the bulb.
Step 3: Sowing Fennel Seeds
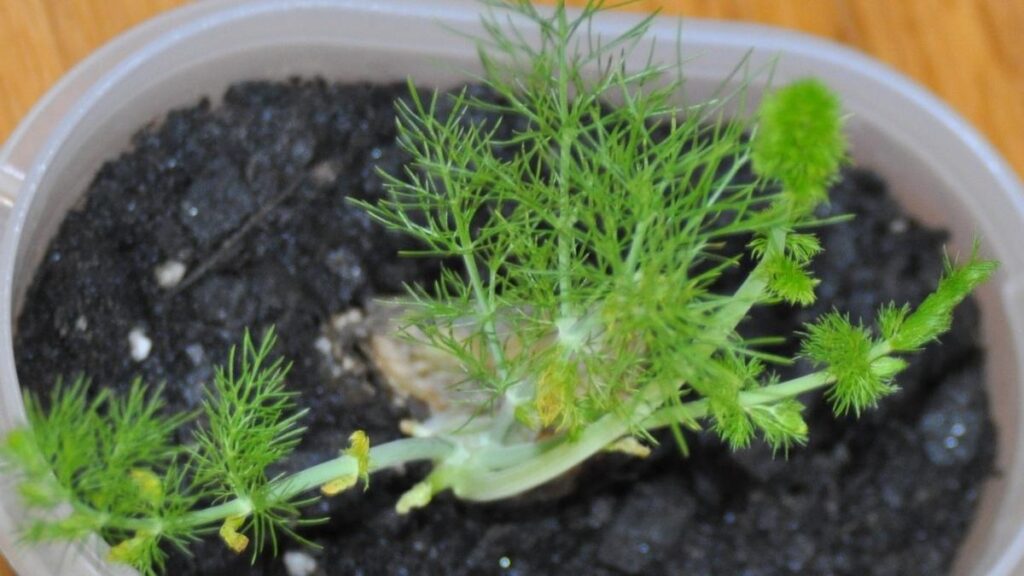
Once your soil and container are ready, it’s time to sow the seeds. Fennel seeds can be sown directly into the container, as the plant doesn’t transplant well due to its long root. Sprinkle the seeds evenly over the surface and cover them with a thin layer of soil, about half an inch deep. Gently water the soil using a spray bottle to avoid disturbing the seeds. Keep the soil moist but not soaked. The seeds should start to germinate within 7 to 10 days, depending on the temperature.
If you’re planting multiple seeds in one pot, thin the seedlings once they reach about three inches tall. Keep only the strongest plant per pot, as fennel grows best without crowding.
Step 4: Providing Sunlight and Water
Fennel loves sunlight, so place the container in a spot that receives at least six hours of direct light every day. If you’re growing fennel indoors, keep it near a sunny window or use a grow light to supplement the natural light.
Water your fennel regularly, keeping the soil evenly moist but never waterlogged. Overwatering can lead to root rot, while underwatering can cause the plant to become tough and lose flavor. The key is to water deeply and allow the top inch of soil to dry out before watering again. In hot weather, you may need to water more frequently to keep the soil from drying out.
Step 5: Feeding and Caring for Fennel
Once your fennel seedlings are about a month old, you can begin feeding them with a mild liquid fertilizer every two to three weeks. Choose an organic fertilizer rich in potassium and phosphorus to promote healthy root and bulb development. Avoid fertilizers high in nitrogen, as they encourage excessive leaf growth.
Mulching the surface of the soil with straw or dried leaves helps retain moisture and keeps the roots cool. Keep an eye out for pests like aphids and caterpillars, which sometimes attack fennel. You can control them by spraying a mild solution of neem oil and water. Fennel generally resists most diseases, but good air circulation and proper watering will keep it healthy.
Step 6: Encouraging Bulb Formation
If you’re growing Florence fennel for its bulbs, it’s important to encourage the base of the plant to swell properly. Once the plant reaches around six inches in height, gently mound soil around the base to cover part of the developing bulb. This helps it stay tender and prevents it from becoming too fibrous. Keep the plant consistently watered during this stage, as dryness can cause the bulb to split.
Step 7: Harvesting Fennel
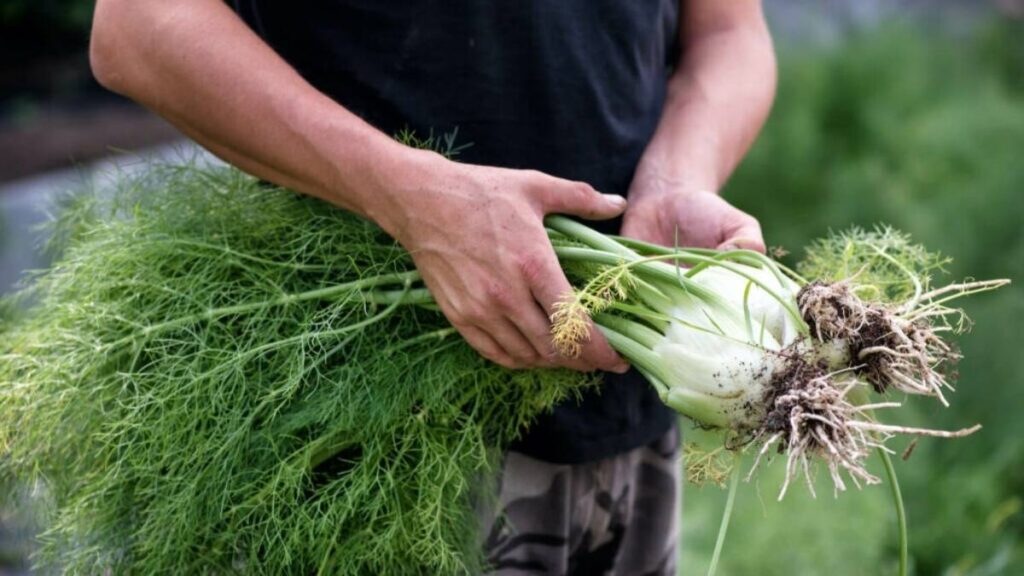
You can start harvesting fennel depending on the type you’re growing. For leafy fennel, you can snip the delicate fronds once the plant is mature, usually within 40 to 50 days. These fresh leaves make a wonderful garnish for salads, soups, and seafood dishes.
If you’re growing bulb fennel, wait until the bulbs are about the size of a tennis ball before harvesting, usually around 70 to 90 days after planting. Use a sharp knife to cut the bulb just above the soil line. Be careful not to disturb neighboring plants if you’re growing multiple ones.
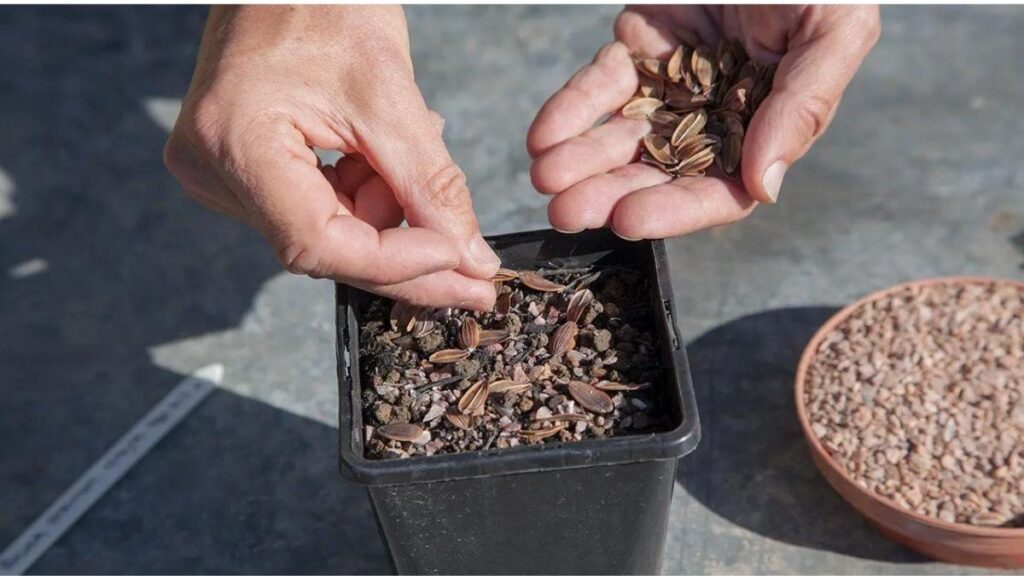
Fennel seeds can be harvested once the flowers dry and turn brown. Cut the flower heads and hang them upside down in a paper bag to collect the seeds as they fall. These can be stored and used for cooking or planting the next season.
Step 8: Post-Harvest Care and Replanting

After harvesting, you can leave the remaining stalks and roots in the pot for a while, as they may sprout again in favorable conditions. Refresh the soil by adding compost before replanting new seeds for a continuous supply. Fennel can grow year-round in warm climates but may need protection during colder months. If you live in an area with frost, bring the pots indoors or cover them with a frost cloth to protect the plants.
Conclusion
Growing fennel in containers from seed is an easy and fulfilling way to enjoy this flavorful and versatile herb right at home. With the right pot, rich soil, and plenty of sunlight, your fennel plants will flourish and provide a steady supply of leaves, bulbs, and seeds for months. Container gardening not only makes it easier to manage your plants but also brings a touch of greenery and fragrance to your balcony or windowsill.
From the gentle rustle of its feathery leaves to the satisfaction of harvesting your own fresh bulbs, fennel adds both charm and practicality to your small-space garden. With just a little care and patience, you’ll have a thriving container of fennel that enhances your cooking and your gardening joy.