
Hostas are beloved by gardeners for their lush, leafy beauty and ability to thrive in shaded areas. But as the growing season ends and winter approaches, these hardy perennials need a little care to ensure they return stronger and healthier in spring. Preparing hostas for winter not only protects them from the cold but also helps them store the energy they’ll need for vibrant growth next season. Here’s a detailed guide to help your hostas thrive year after year.
Understanding Hostas and Their Seasonal Cycle
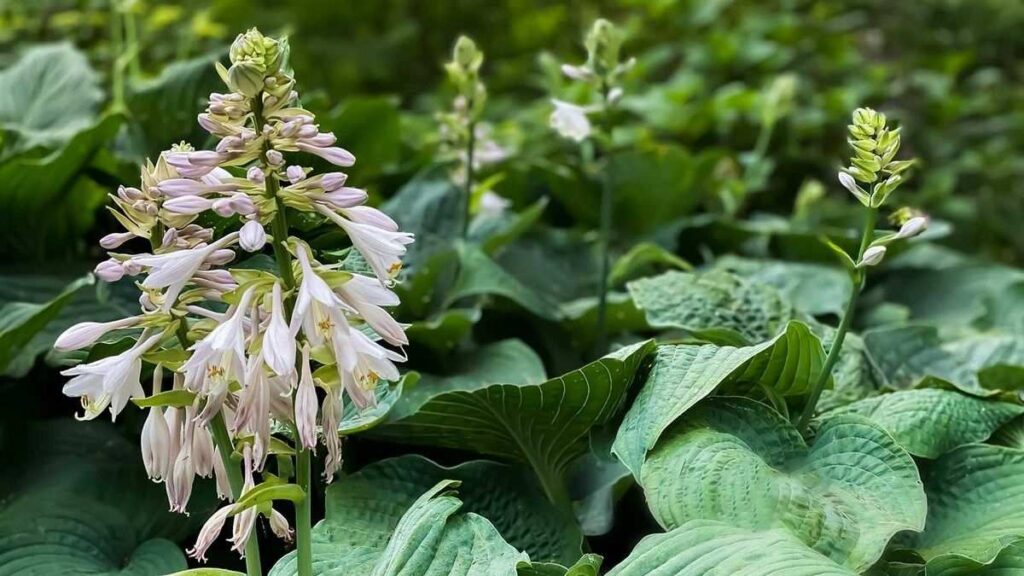
Before diving into winter preparation, it’s important to understand how hostas grow. These plants follow a seasonal rhythm: active growth in spring and summer, slowing down in fall, and complete dormancy during winter. As temperatures drop, the leaves naturally yellow and die back, signaling that the plant is entering its rest phase. This dormancy is essential for rejuvenation, allowing the roots to store energy for the next season’s lush foliage. Knowing this cycle helps you care for them appropriately and avoid common mistakes, like overwatering or pruning at the wrong time.
Step 1: Let the Foliage Die Back Naturally
When autumn arrives, hostas begin to fade. Many gardeners are tempted to cut the dying leaves right away, but it’s better to let them die back naturally. The fading foliage continues to feed the roots until the first hard frost. Wait until the leaves turn completely yellow or brown before trimming them down to the ground. This simple patience ensures your plants store as much energy as possible before winter sets in.
Step 2: Clean Up the Bed Thoroughly
Once the foliage is completely dead, it’s time to clean up the bed. Remove all the dead leaves and debris around the plants. Old foliage can harbor pests such as slugs and diseases like crown rot, which can harm your hostas next season. Rake the area gently to clear it, but be careful not to damage the crowns or roots. A clean bed reduces the risk of winter fungal infections and helps your hostas start the next growing season on the right foot.

Step 3: Divide and Transplant If Needed
Fall is an excellent time to divide mature hostas if they’ve become too crowded. Dividing every three to five years keeps them healthy and encourages new growth. Wait until the temperatures have cooled but before the ground freezes. Carefully dig around the plant, lift the clump, and separate it into sections using a sharp knife or spade. Each section should have several healthy roots and shoots. Replant them in prepared soil with good drainage, ensuring they are at the same depth as before. Water well after planting to help them settle in before the frost.
Step 4: Mulch Generously for Winter Protection
Mulching is one of the most important steps in preparing hostas for winter. Apply a thick layer of organic mulch such as shredded leaves, straw, or compost around the base of the plants once the ground has started to cool but before it freezes. Mulch acts as an insulating blanket, protecting the roots from freezing and thawing cycles that can cause damage. It also helps retain moisture and prevents soil erosion during winter rains and snow. Keep the mulch a few inches away from the crown to avoid rot.
Step 5: Water Before the Ground Freezes
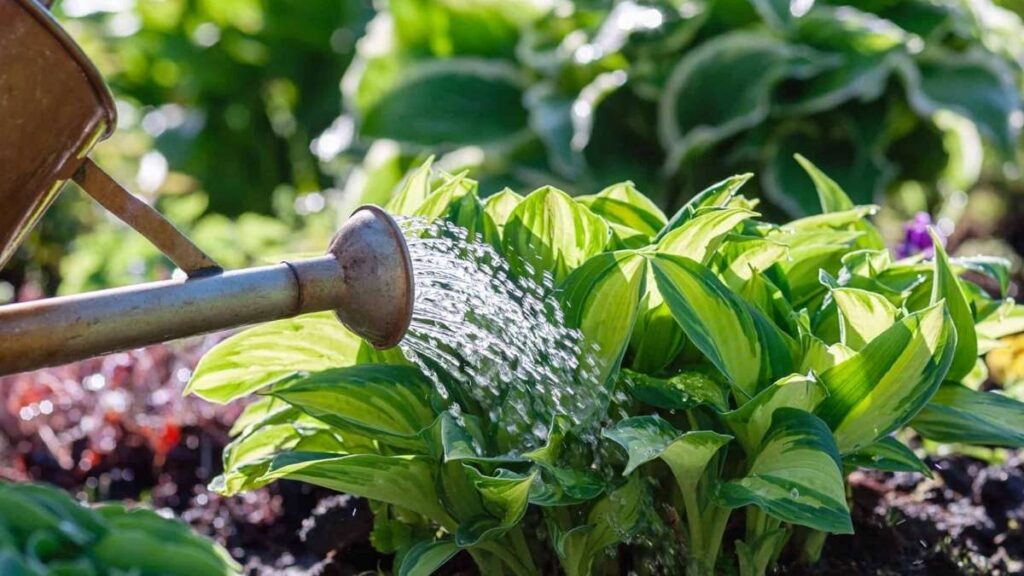
Even though hostas are entering dormancy, they still need adequate moisture before winter. A deep watering before the first hard freeze ensures the roots are well-hydrated, helping them survive the cold months. However, avoid overwatering, as soggy soil can lead to root rot. Once the ground is frozen, the plants won’t need additional watering until spring.

Step 6: Protect from Winter Pests
Rodents and deer can sometimes cause trouble during winter, feeding on dormant hostas or disturbing the soil around them. If this is a problem in your area, use natural deterrents or place wire mesh over the beds to protect your plants. Keeping the garden clean and removing nearby hiding spots for pests also reduces the risk of winter damage.
Step 7: Plan for a Strong Spring Start
When winter ends, resist the urge to remove mulch too early. Wait until the danger of frost has passed and the soil begins to warm up. Gradually pull back the mulch to allow new shoots to emerge. Early spring is also a great time to feed your hostas with a balanced slow-release fertilizer to encourage healthy growth. A layer of compost worked into the topsoil will further enrich the soil and give your plants a strong start.
Step 8: Maintain Proper Spacing and Shade
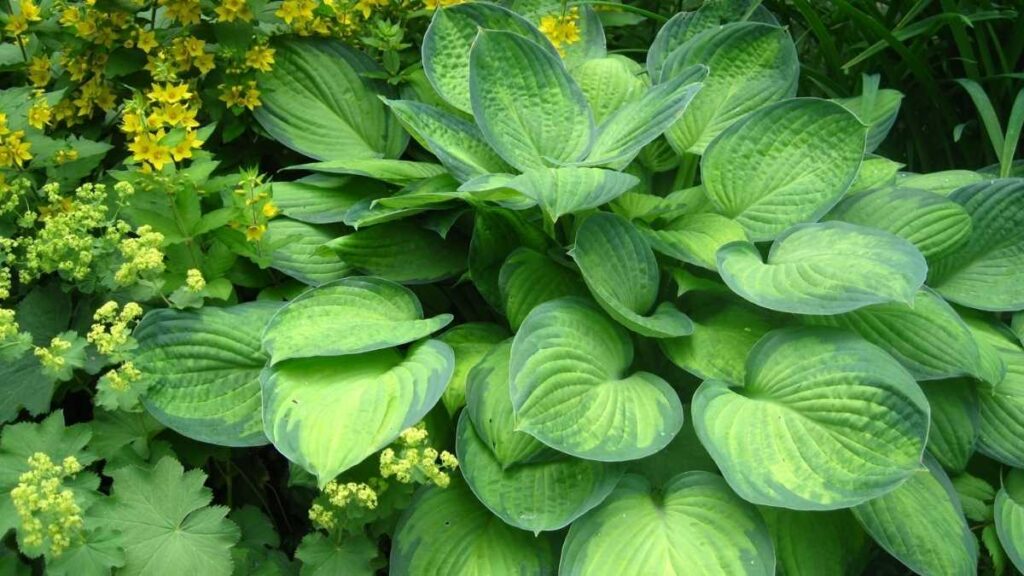
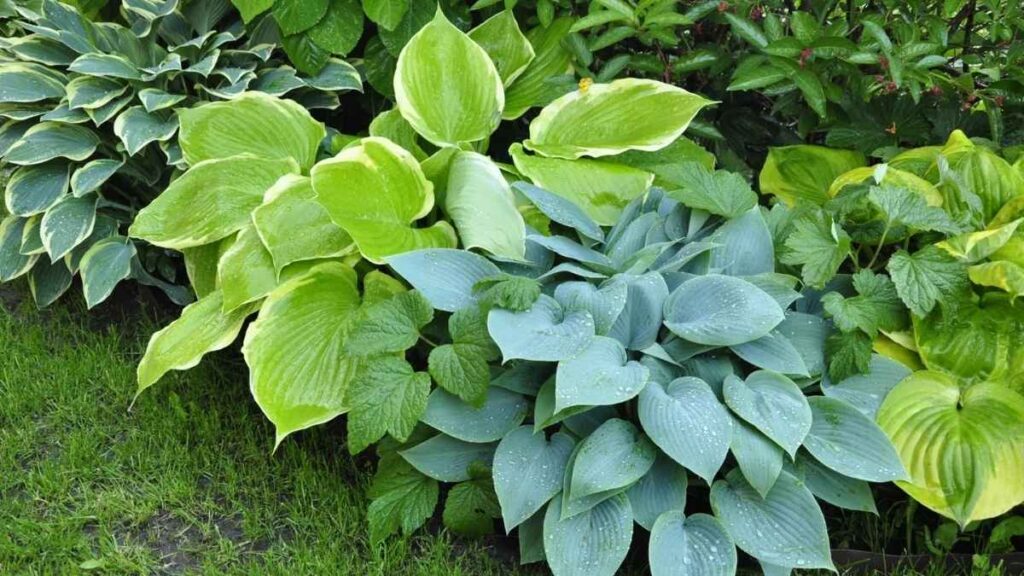
To boost growth next season, make sure your hostas have enough space and the right light conditions. Overcrowding can lead to poor air circulation, increasing the risk of disease. Most hostas thrive in partial to full shade, though some varieties with thicker leaves can tolerate more sunlight. Observe your garden’s light patterns and adjust the placement if needed. Healthy, well-placed hostas will grow faster and produce more vibrant foliage.
Step 9: Keep the Soil Rich and Moist

Hostas love nutrient-rich, slightly acidic soil that retains moisture without becoming waterlogged. Before winter, you can improve the soil by adding organic matter such as compost or well-rotted manure. This enhances the soil’s structure and fertility, ensuring your hostas have everything they need for robust spring growth. In spring and summer, maintain consistent moisture, especially during dry spells.
Step 10: Monitor and Adjust Each Year
Every garden is unique, and so is every season. Pay attention to how your hostas respond each year and adjust your care routine accordingly. If they appear stunted, yellow, or develop spots, it may indicate issues with soil, pests, or light. Keeping a garden journal to record weather patterns and growth progress can help you fine-tune your approach for even better results next year.
Final Thoughts
Preparing hostas for winter doesn’t require much effort, but the rewards are significant. By allowing them to die back naturally, cleaning up debris, mulching properly, and ensuring they’re hydrated and pest-free, you’re setting the stage for a beautiful and thriving garden in spring. Hostas are resilient plants that reward consistent care with lush, eye-catching foliage year after year. With the right preparation now, your hostas will greet you next season stronger, greener, and more vibrant than ever.