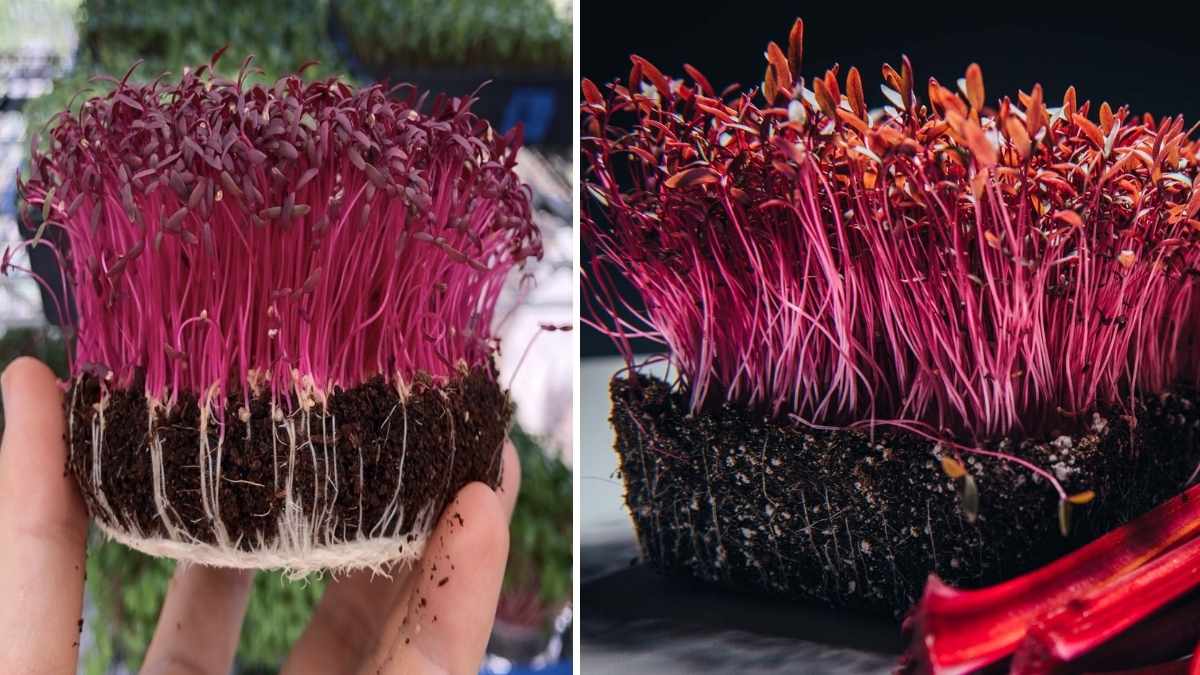
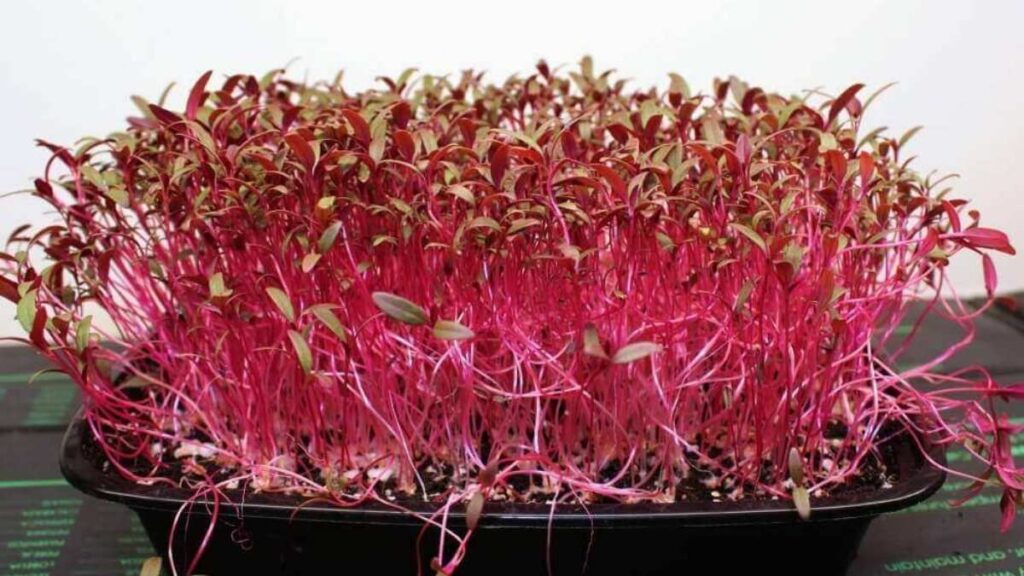
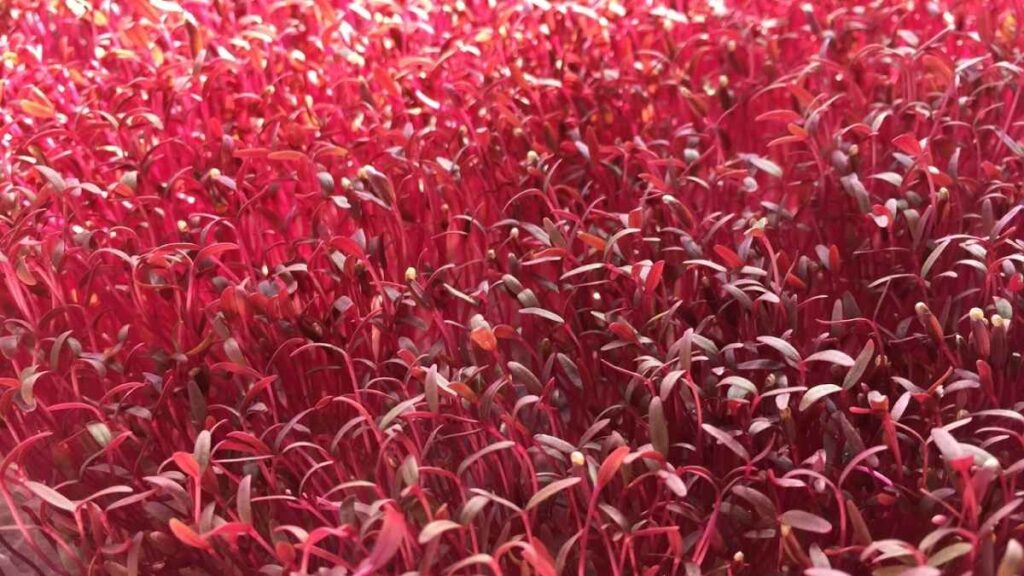
Amaranth microgreens are tiny, nutrient-rich plants that pack a punch of flavor and color in your meals. They are not only visually appealing with their vibrant red and green leaves, but they are also rich in vitamins, minerals, and antioxidants. Growing amaranth microgreens at home is simple, fast, and rewarding, making them perfect for anyone looking to add fresh greens to their diet without a large garden space. This guide will take you through seven easy steps to grow your own amaranth microgreens at home.
Step 1: Choosing the Right Seeds
The first step in growing amaranth microgreens is selecting high-quality seeds. Look for seeds specifically labeled for microgreens or edible sprouts, as these are untreated and safe for consumption. Organic seeds are ideal because they are free from pesticides and chemicals.
Amaranth seeds come in different varieties, such as red, green, or mixed colors. You can choose one type for a uniform look or mix varieties for a vibrant, colorful tray. Make sure the seeds are fresh to ensure high germination rates and healthy growth.
Step 2: Preparing Your Growing Tray
You will need a shallow tray or container with drainage holes for growing microgreens. The tray should be about one to two inches deep to allow room for the roots to develop. If you don’t have a dedicated tray, you can also use a shallow dish, as long as it can hold soil and drain excess water.
Line the tray with a thin layer of growing medium. You can use potting soil, coco coir, or a seed-starting mix. Avoid using garden soil, which may be too dense and can harbor pests or pathogens. Lightly moisten the medium before planting the seeds to create a welcoming environment for germination.

Step 3: Soaking the Seeds
Soaking amaranth seeds before planting helps to speed up germination and improves growth. Place the seeds in a small bowl and cover them with water. Let them soak for about 4 to 6 hours. Avoid soaking for too long, as this can cause the seeds to rot or develop mold.
After soaking, drain the seeds and rinse them gently. They are now ready to be spread evenly over the prepared tray.
Step 4: Planting the Seeds
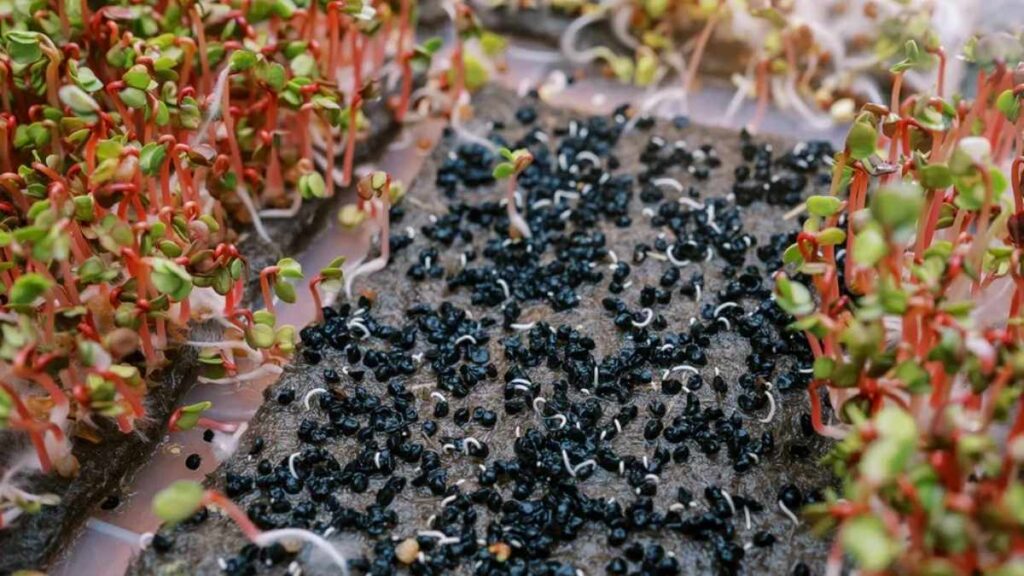
Sprinkle the soaked seeds evenly across the surface of the moist growing medium. You can plant them densely, as microgreens are harvested at an early stage, and crowding does not affect growth significantly. Press the seeds lightly into the soil to ensure contact with the medium, but do not bury them deeply.
Mist the seeds gently with water to moisten them. Avoid overwatering at this stage, as it can cause the seeds to shift or develop mold. Cover the tray with a lid or a piece of plastic wrap to create a warm, humid environment that encourages sprouting.
Step 5: Providing the Right Light and Temperature


Amaranth microgreens need indirect sunlight or bright artificial light to grow well. Place the tray near a sunny window or under grow lights for 12 to 16 hours a day. Avoid direct harsh sunlight, which can dry out the tender seedlings.
The ideal temperature for growing amaranth microgreens is between 65°F and 75°F. Warmth encourages rapid germination and healthy growth. Make sure the environment has good airflow to prevent mold or fungal growth on the seeds.
Step 6: Watering and Care
Keeping the growing medium consistently moist is key to producing healthy microgreens. Mist the tray lightly once or twice a day, depending on the temperature and humidity. Avoid soaking the soil, as excessive water can lead to root rot or mold.
Monitor the seedlings daily and remove any seeds that fail to germinate or any seedlings that show signs of disease. Once the seeds sprout, remove the cover to allow more airflow and stronger growth.
Step 7: Harvesting Your Microgreens
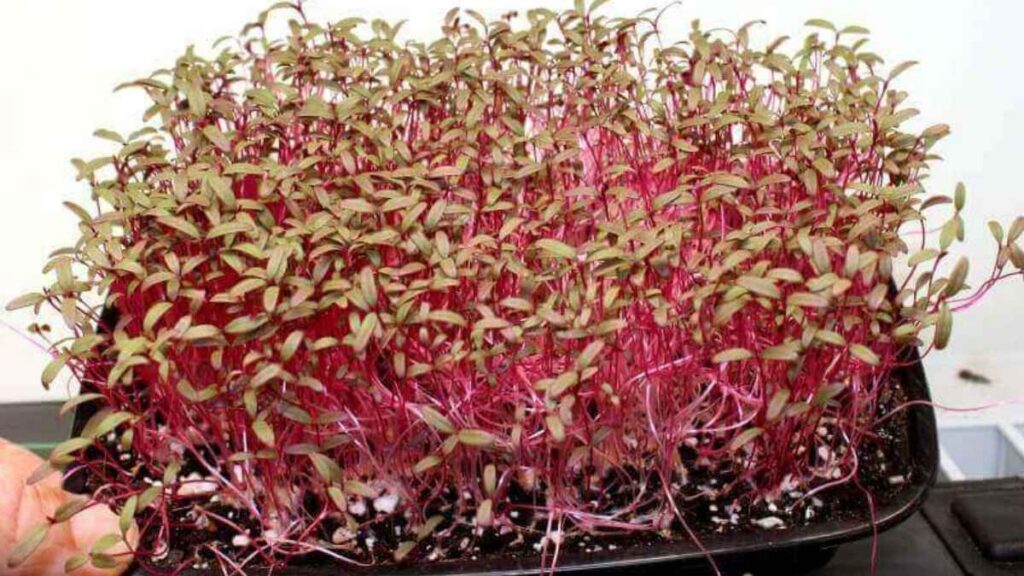
Amaranth microgreens are usually ready to harvest in 7 to 10 days, when they reach about 2 to 3 inches in height and have developed their first set of true leaves. Harvesting at the right time ensures maximum flavor, tenderness, and nutrition.
To harvest, use a sharp pair of scissors or a knife to cut the microgreens just above the soil level. Rinse them gently under cold water to remove any debris. They can be stored in the refrigerator for up to a week in a sealed container, but they are most flavorful when used fresh.
Tips for Success
- Use fresh, high-quality seeds for the best results.
- Avoid overcrowding trays to reduce the risk of mold.
- Ensure proper drainage in your tray to prevent waterlogging.
- Rotate trays occasionally to provide even light exposure for all seedlings.
- Experiment with different varieties of amaranth for a mix of colors and flavors.
Conclusion
Growing amaranth microgreens at home is a simple and rewarding process that provides fresh, nutrient-packed greens in just a week or two. By following these seven easy steps from selecting the right seeds to harvesting tender shoots you can enjoy the vibrant color, unique flavor, and impressive health benefits of amaranth microgreens right from your kitchen. With minimal space, effort, and care, you can create a steady supply of fresh microgreens to enhance salads, sandwiches, smoothies, and more, bringing both beauty and nutrition to your home.